
Appearance
Running a Test Set
Once you have written tests for your solution, you will want to run those tests in AireAssert.
Before You Begin
- You should have created a Test Set and pushed it to a Bitbucket Git repository
- Your Git repository should already be connected to your AireAssert instance (this is typically done by an administrator during initial setup)
Running a Test Set
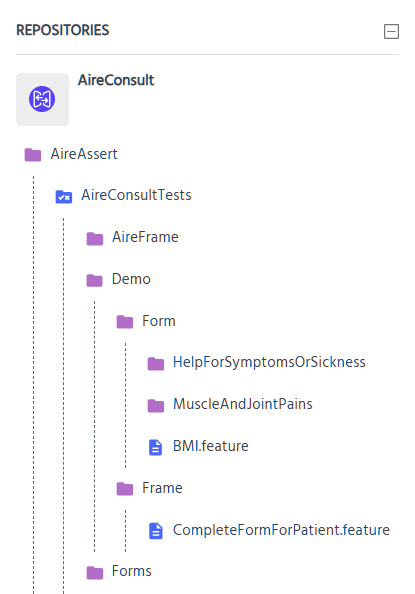
In the left-hand tree view, select your Test Set.
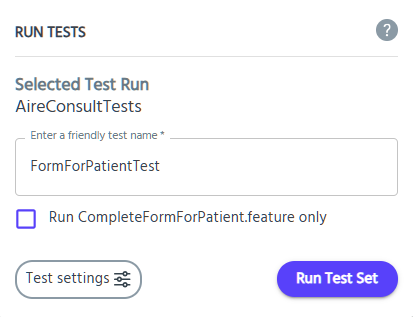
In the Run Tests panel on the right-hand side:
- Optionally enter a custom name for your test run (a random name is used by default).
- Choose to run only the currently selected feature file instead of the entire Test Set.
- Adjust any test run settings as needed (see Test Run Settings).
- Click Run Test Set and wait for the Test run
"<test run name>"has started.
Running a Single Feature or Scenario
When a feature file is open in the editor, a ▶ Run feature link appears above its Feature: line, and a ▶ Run scenario link appears above each scenario.
- Click the link for what you want to run. The Run Tests panel opens with that feature file selected; for a scenario it also shows a Scenario: tag naming it.
- Check the run name and settings, then click Run Test Set. Only the chosen feature file or scenario runs.
- A Scenario Outline runs every row of its examples.
- The Background of the feature still runs before the scenario, as usual.
- Remove the Scenario: tag to run the whole feature file instead, or untick the feature file to run the entire Test Set.
- The run uses the last saved version of the file. If you have unsaved changes you will be asked to save or discard them first, and a scenario you have renamed but not saved will not be found.
- The run's Test Run Summary shows its Scope, so you can tell a partial run from a full one.
Navigate to Test Run Results to monitor your active tests. Here, you can:
- View the current status of any running test
- Cancel a test run
- Stream logs in real time
